


7 Tips on How to Break New Riding Boots
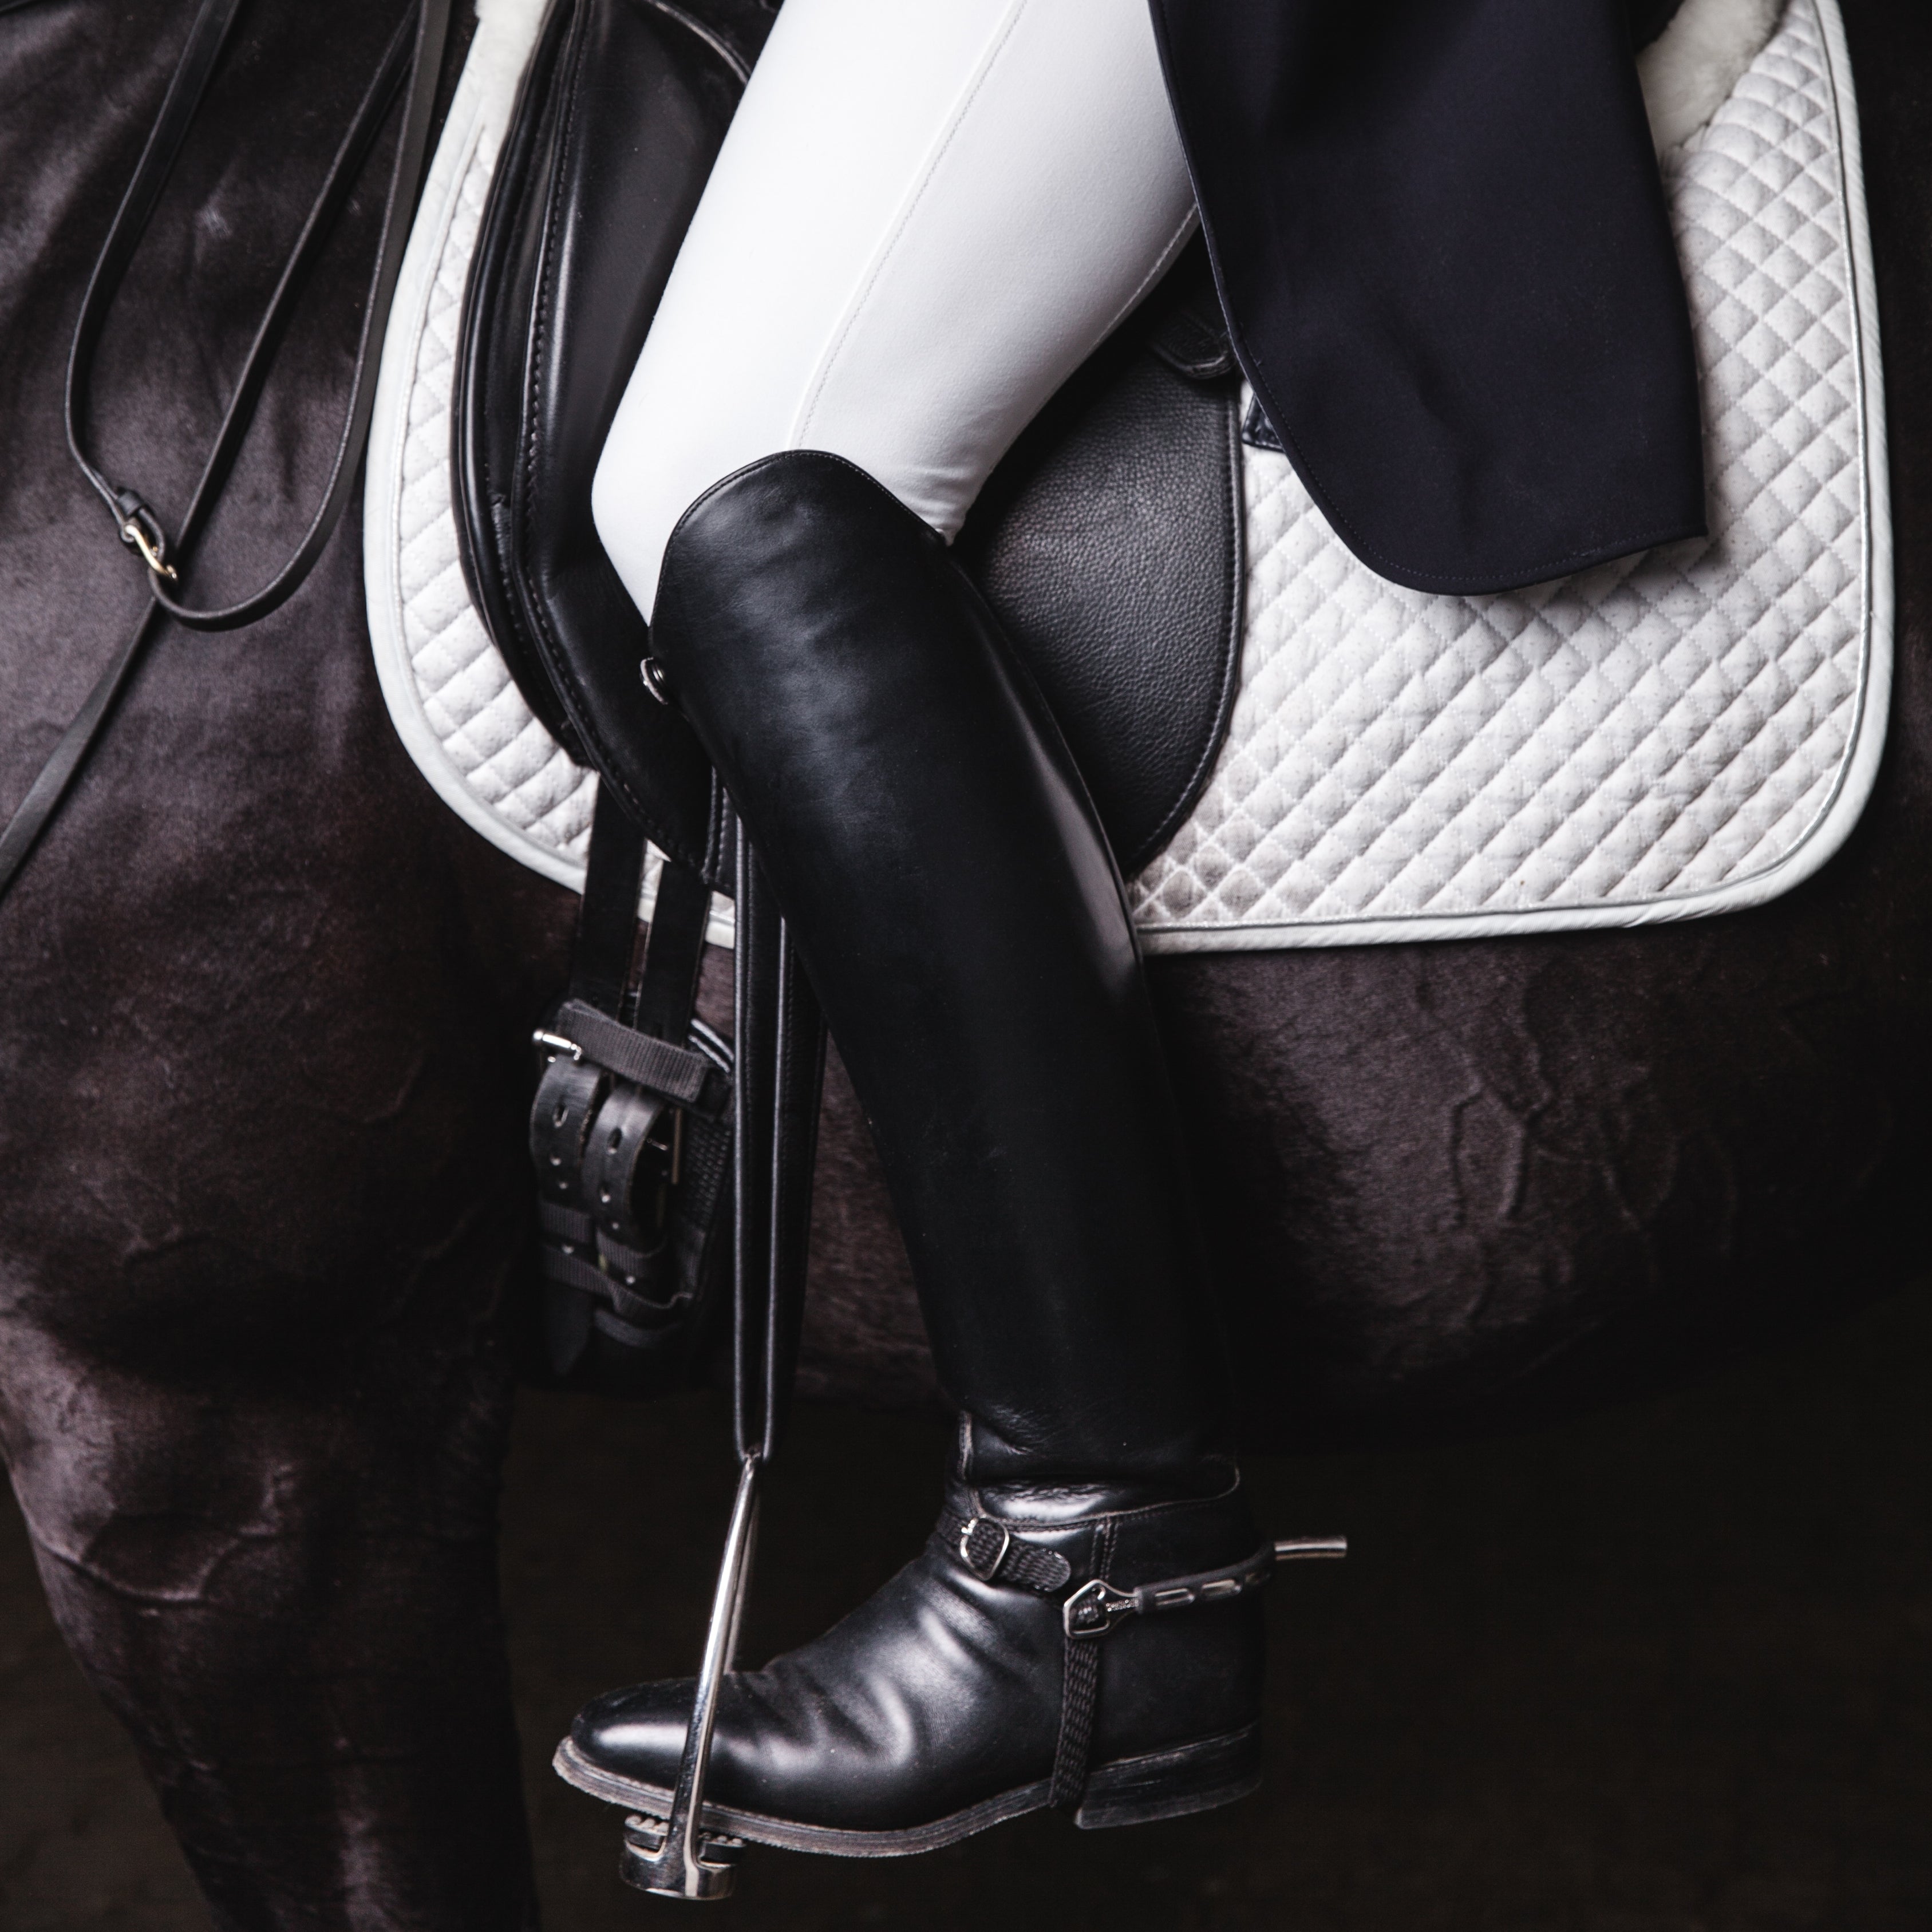
A new pair of riding boots is more than a purchase—it’s a milestone in every rider’s journey. From the first time you zip them up, you can feel the craftsmanship: sleek lines, supportive structure, and polished leather that whispers of timeless style. They’re made to turn heads in the barn aisle and support every stride in the ring. But before they contour perfectly to your leg and become your go-to gear, there’s one important phase that every rider must embrace: the break-in process.
Much like developing trust between horse and rider, breaking in your boots takes time, movement, and care. It’s not just about softening leather—it’s about letting the boot evolve into a natural extension of your form.
At HorseHub, we understand the delicate balance between luxury and functionality. Whether you’ve invested in bespoke tall boots from our Le Cavalier Collection or chosen a pair of refined, everyday paddock boots, this guide will walk you through how to break them in with grace, patience, and polished confidence—so your boots perform as beautifully as they look.
Why Breaking in Riding Boots Is Important
Even the most luxurious, handcrafted leather boots require a period of adjustment. Especially when made from structured, premium-grade materials, new riding boots arrive with firmness and stiffness that reflect their quality—but also demand patience. Breaking them in allows the leather to gradually soften, shape, and mold to your unique anatomy, from your heel to your calf and ankle.
This natural adjustment process is about more than just comfort. It plays a direct role in:
-
Supporting optimal rider position in the saddle
-
Reducing pressure points and friction during long hours of riding
-
Preserving the integrity and longevity of the leather
A rushed break-in process—or worse, skipping it entirely—can lead to discomfort, blisters, and premature wear. More critically, it may hinder your ability to ride with the fluidity, security, and precision you strive for.
At HorseHub, we see boots not just as equipment, but as an extension of the rider’s form and identity. When properly broken in, your boots become a perfect fit—not just for your foot, but for your riding style, your discipline, and your ambition.

How to Break in Your Riding Boots the Right Way
Breaking in your riding boots doesn’t have to be a painful experience. With a few intentional steps, you can transition from stiff to supple while maintaining the structure and beauty of your investment. Here are our expert-approved tips for easing into your new pair with elegance and care:
1. Wear Them Around the House
Before taking your boots to the barn, begin by wearing them at home for short, comfortable intervals. Walk on different surfaces, stand on stairs, and gently flex your ankles. These subtle movements help the leather begin to soften, particularly in high-motion areas like the ankle crease.
Tip: Wear tall, moisture-wicking socks or boot liners to minimize friction and prevent blisters during these early wear-in sessions.
2. Use Boot Trees Between Wears
Invest in quality boot trees to preserve your boots' structure during the break-in phase. They maintain the shape of the shaft, prevent excessive creasing, and ensure the leather softens evenly. Boot trees also help reduce odor and moisture buildup, keeping your investment fresh and refined.
3. Apply Leather Conditioner Strategically
Use a high-quality leather conditioner or balm to help ease tight spots, especially around the ankle, instep, and heel. This encourages natural flexibility without compromising the boot’s integrity. Apply sparingly using a soft cloth and allow the conditioner to soak in slowly.
Note: Avoid applying product directly to the inner lining unless the boot is specifically designed for it, as it may affect internal support or cause slipping during wear.
4. Ride in Short Sessions First
Begin riding in your new boots for 15–30 minutes at a time, gradually increasing the duration as they start to mold to your leg. This phased approach gives your body time to adjust to the boots and allows the leather to soften where it matters most—without unnecessary strain.
Focus on flatwork or light schooling sessions before tackling jumping, hacking, or competitions. You want to ease both you and your boots into performance—not rush the process.
5. Use Heel Lifts for Tall Boots
If your tall boots are uncomfortably pressing into the back of your knee, try inserting temporary heel lifts in the footbed. These subtle additions raise your heel just enough to relieve pressure until the shaft begins to “drop” and contour more naturally to your leg.
Heel lifts can be especially helpful during the first few weeks of wear and are easily removed once your boots settle into their final shape.
6. Flex and Massage the Leather
To speed up the softening process, gently flex the shaft of the boot by hand when you’re not wearing them. Lightly massage the ankle and instep areas—especially if they feel stiff or resistant to movement.
A boot stretcher or leather softening tool can also be used with care, particularly for tight areas across the toe box or arch. Just be sure to preserve the overall structure by working gradually and thoughtfully.
7. Never Soak or Overheat Leather
Although you may hear old-fashioned advice suggesting water baths or heat sources to “quickly break in” boots, these methods can do more harm than good. Soaking or applying heat can dry out fine leather, cause it to crack, warp, or even lose its shape entirely.
Instead, trust in controlled wear, natural movement, and high-quality conditioning products to guide the break-in process gently and effectively. Patience will reward you with boots that feel custom-made and age beautifully over time.

Caring for Your Boots After Break-In
Once your boots are broken in, they’ll become one of your most trusted pieces of gear. Keep them in top condition with these HorseHub-approved habits:
-
Clean after every ride using a soft cloth and leather cleaner
-
Condition weekly if you ride frequently
-
Store upright with boot trees in a cool, dry place
-
Polish regularly to maintain a rich, professional finish
Final Thoughts: From Stiff to Second Skin
Breaking in your riding boots takes patience—but the reward is worth every step. With time, movement, and care, your boots will become a tailored extension of your leg—supporting you from the stable aisle to the Grand Prix ring.
At HorseHub, we design boots that are made to evolve with you—crafted from the finest materials and engineered for elegance and performance.


